The Shopify eCommerce solution is the online retail platforms leader, which holds more than 28% market share in the U.S. Currently, Shopify stands fourth on the list of popular worldwide eCommerce solutions. Shopify maintains over 5.23 million active websites across the globe, a majority of which belong to the United States; this is one of the fundamental reasons why it has gained so much popularity among all businesses currently doing business online.
It is a step-by-step guide on building a Shopify site, in order to arm the budding store owner with all information he or she might need in order to launch an online venture.
Table of Contents
ToggleShopify Insights: Key Highlights (2024)
- Shopify has a daily active user base of 2.1 million.
- 5.23 million online shops make use of Shopify.
- Shopify generated $3.86 billion revenue in the first half of 2024.
- Shopify stores are majorly represented in the United States at 57.65%.
- Over 700 million customers are expected to be served by Shopify.
- Shopify runs 24% eCommerce websites on the Internet.
Whatever the product – physical, digital, or a service – the design of your website is how you will attract visitors and eventually transform them into faithful customers.
In Shopify, the overall look and feel of your store will significantly determine whether visitors stay around and shop.
If you’re interested in Shopify, you’ve come to the right place. This blog post will walk you through how to create an attractive, high-converting Shopify site. Whether you’re just starting or evaluating if Shopify fits your business, we have all the information you need!
Ready to get started? Let’s get into it!
1. Decide on your Shopify website’s purpose
Are you looking to sell products online, promote a brand, or perhaps share a passion with the world? Defining the primary goal of your site will guide your decisions and help you select the right tools and features on Shopify. This also helps you determine the type of content you need, the design style that fits your brand, and the features you must prioritise. For instance, an online store requires excellent product pages and a secure checkout process, while a blog might focus more on content management and SEO.
Shopify is tailored for commerce, offering tools for product management and sales. For other purposes like blogging and portfolio showcases, Shopify provides customisable themes and content management tools.
Here’s what you can do: Take some time to outline your goals and the experience you want to offer your visitors.
Some common website goals:
- Selling products
- Showcasing brand
- Sharing updates through blog
- Highlighting customer reviews
- Turning visitors into leads
- Growing audience
2. Create your Shopify account
Now that you have well defined what your website intends to be, it’s time to begin with creating your Shopify account. To start with:
- Go to the Shopify homepage and click for the free trial.
- You will be asked for your email along with any other relevant details you have.
- Name your store. Don’t worry if you change this later. This is your Internet identity: Your domain name should be short, match or complement your brand, and ideally include keywords that describe your industry. Before registering a domain, first check whether it’s available via a hosting service such as Shopify, Google Domains, or GoDaddy. Remember, your domain plays a role in SEO so choose carefully.
- Shopify is going to ask a few questions about your purpose in this store and your level of experience to tailor the set-up procedure around you.
- Then, finish the registration and you are taken to the Shopify dashboard where the building of your website begins.
You can now enjoy your first 3-day free trial. If you decide to continue it after the trial period, you can continue enjoying Shopify for just $1 for the first month so that you have more than enough time to perfect your site.
3. Set up your Shopify store

With your account set up, it’s time to start building your Shopify store. The setup process is quite straightforward, thanks to Shopify’s intuitive interface. This process involves configuring basic settings. Follow these steps:
- Click on the settings tab in the Shopify dashboard and set your store’s name, time zone, and currency.
- Choose a domain name and purchase a domain name through Shopify or connect an existing one.
- Add essential pages like ‘About Us,’ ‘Contact,’ and any policy pages (Privacy Policy, Terms of Service).
- In the ‘Sales Channels’ section, choose where you want to see (e.g., online store, Facebook, Instagram).
- Go to settings and checkout to customise the checkout process (e.g., guest checkout options, customer accounts).
For hosting your website, Shopify includes features like: unlimited bandwidth for handling traffic growth, PCI compliance, fast servers, custom domain options, and unlimited email forwarding. This ensures your smooth runs smoothly as it grows.
4. Choose a Shopify website theme

Now it gets fun. The theme you will select dictates the overall aesthetic and feel of your site so you want to choose a theme that best represents your brand and purpose of your site. Some examples: Shopify has thousands of free and paid themes. Go to the online store to view them. Do remember that colours and fonts can be adjusted later, but the basic layout as well as the features of the theme should encompass what you need right from the very onset.
5. Edit your store’s design

You customize by playing with the look and feel of your Shopify store after you have chosen your theme. This is the time to let the personality of your brand shine through. You will see color palette, typography, and page arrangement tools.
Upload your logo if you have one, or feel free to try out different color combinations and fonts. Shopify has had design made with user-friendliness in mind, so even a complete newcomer to design can get a very professional-looking Shopify website with it.
6. Add your products

With your website’s design in place, let’s start adding the star of the show— your products! Navigate to the products section and begin entering details for each item you plan to sell.
- Add titles, descriptions, prices, and images for each product.
- Organise products into collections or categories to make it easier for customers to browse your store.
- Manage stock levels by entering SKU numbers, quantity, and shipping details.
- Review details and publish them on your site.
7. Further enhance your store with pages and content

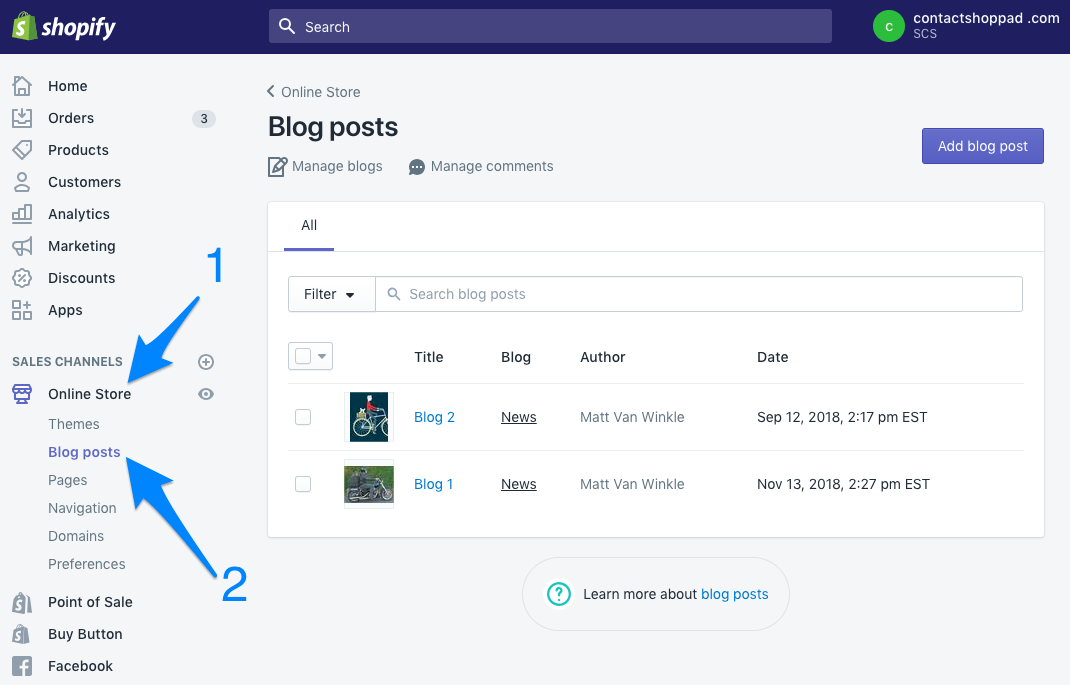
With your Shopify store’s design taking shape, you should also focus on adding important pages and content that will engage and inform your visitors. Apart from creating basic pages (policies and business-related), make sure of your blog to share content with your audience. This could be about industry trends, tips, or insights. Regular blog updates keeps your visitors engaged and improves your SEO— driving more traffic to your store.
Keep in mind to focus on creating high-quality engaging, informative content. It should also be optimised for search engines. It means that you must incorporate relevant keywords into your page titles, keywords, and so on. At the basic level, Shopify’s built-in SEO tools can help you with some enhancements.
8. Set up your payment options
To start accepting payments from your customers, follow these steps to configure your payment settings:
- Navigate settings and select payments to enter the payment setup area.
- Activate Shopify payments to use its integrated payment processor.
- Enter your business details, including bank account information for deposits.
- Offer additional payment options, like PayPal, GPay, or Apple Pay.
- Ensure all details are correct.
9. Finalise relevant settings
Before launching, make sure all critical settings are in place to avoid issues.
Review and set up legal pages
Navigate to the legal section in settings to create or upload essential legal documents like return policy, privacy policy, and terms of service. Verify that these documents meet legal requirements and are clear to your customers.
Set up email notifications
Go to the notifications to configure email alerts for orders, shipping updates, and other customer communications. Make sure to customise the content and design of these notifications to align with your brand.
Configure shipping settings
Now, access shipping and delivery settings to set up shipping rates, zones, and carriers. Adjust them based on your shipping strategy and target locations.
Test store functionality
Conduct a test order to ensure that the checkout process, payment gateway, and order confirmations work correctly.
10. Launch your store!

Ready to go live?!
To launch your Shopify store, choose a suitable plan that best aligns with your business needs, and then complete the payment and billing details to activate it. See if your site is password protected and uncheck the option to make it accessible to the public. Once these steps are complete, launch your website and publish to officially make your site live!
Finally, announce your launch by promoting it through social media, email marketing, and other channels to attract visitors and generate initial traffic.
Continue building your Shopify website and store
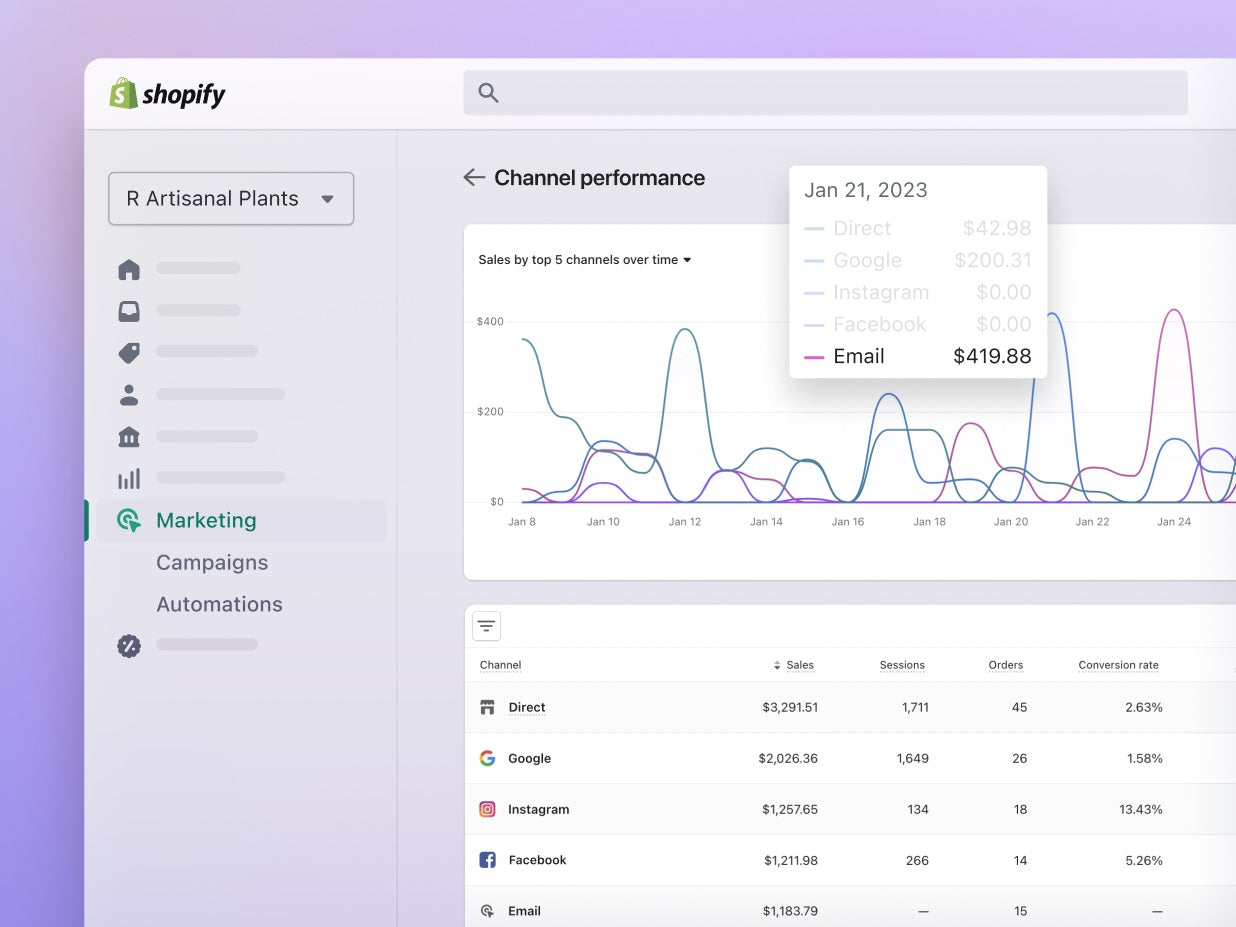
After all the above, your store will be up at which time you will focus on sustainable growth and improvement. Check analytics by Shopify closely and track sales, customer behavior, and other key website performance indicators that show what works.
Introduce new products regularly and experiment with different marketing strategies using the performance insights to tweak your approach. This keeps your online shop attractive and ensures that the customer expectations are understood well enough to stay ahead of them. Build solid relationships with your customers. Engage via email marketing, social media interaction, and helpful customer service to reach your target audience.
As your business grows, you will take advantage of Shopify’s applications and integration to add more features and refine your process. Your Shopify store will become profitable but respond to the rising demands of your customers as well.
When to seek professional help for your Shopify website?

Creating a website with Shopify involves several complicated steps that are challenging for beginners. While Shopify provides a user-friendly platform, some aspects of website creation require a deeper understanding and technical expertise. Here’s a rundown of the more complex tasks you might encounter.
Customising advanced features: Implementing advanced features like custom integrations, complex navigation menus, or specialised apps is challenging. Unique functionalities or advanced customisation goes beyond basic theme adjustments and requires a professional to step in.
Designing for optimal user experience: To achieve a perfect balance between aesthetics and functionality requires a keen eye for design and user experience, which professionals can help you create.
Setting up and optimising SEO: Effective SEO is more than just including keywords. It includes on-page SEO, meta descriptions, and site architecture— which might be overburdening to also make sure your site ranks well in search engines.
Configuring complex payments and shipping options: International shipping rules, custom tax settings, or multiple payment gateway settings are complicated.
Technical issues: Encountering technical issues is common, such as during setup. Resolving them can be difficult without a technical background. With Shopify’s customer service quality going down, it can be extremely helpful to hire an agency or take the help of an expert.
Ready to see the difference?
Bloom Agency can be your go-to partner. It is known for its exceptional Shopify web design services. Their team of experts bring expertise in several areas to make sure your online not only looks great but performs optimally.
It will handle everything for you— from scratch. Its skilled designers and experts lay out your brand’s aesthetics, conduct keyword research, perform technical SEO, manage end-to-end content, optimise on-page SEO, conversion rate optimisation, site analytics, user experience, and much, much more.
Ready to focus more on growing your business while we handle the technical details? Get your free proposal today! Click here.


Rahul M.
B2B Service Provider