WooCommerce Multi-Currency-How It Works
Nowadays, in the global marketplace, selling products to customers across international borders is very crucial for every eCommerce shop. Offering multiple currencies on your WooCommerce store can boost customer experience, conversions, and the reach of business. It is here that the plugin WooCommerce Multi-Currency can help you. It allows the prices in your store to be shown in different currencies. Below is a detailed guide on how you can implement and manage multiple currencies on your WooCommerce store.
Table of Contents
ToggleWhy Enable Multi-currency on WooCommerce?

1. Higher Conversions
International customers would want to see the prices in their native currency. This will build so much trust with the customer and potentially reduce cart abandonment.
2. Enhanced Customer Experience
Customers find it easy to pay in their native currency. That means no need to bother one’s head calculating exchange rates, which makes buying much easier.
3. Competitive Advantage
Having multiple currencies positions your store as global and more attractive to more customers, eventually driving business growth.
Enable multi-currency for your WooCommerce store.

Step 1: Installing a WooCommerce Multi-Currency Plugin
WooCommerce by default does not support multiple currencies. You can add this functionality using plugins. For example:
• WooCommerce Multi-Currency by TIV.NET
• Currency Switcher for WooCommerce
• WPML WooCommerce Multilingual-for translation and currency
For this tutorial, we will focus on the WooCommerce Multi-Currency by TIV.NET plugin as an example.
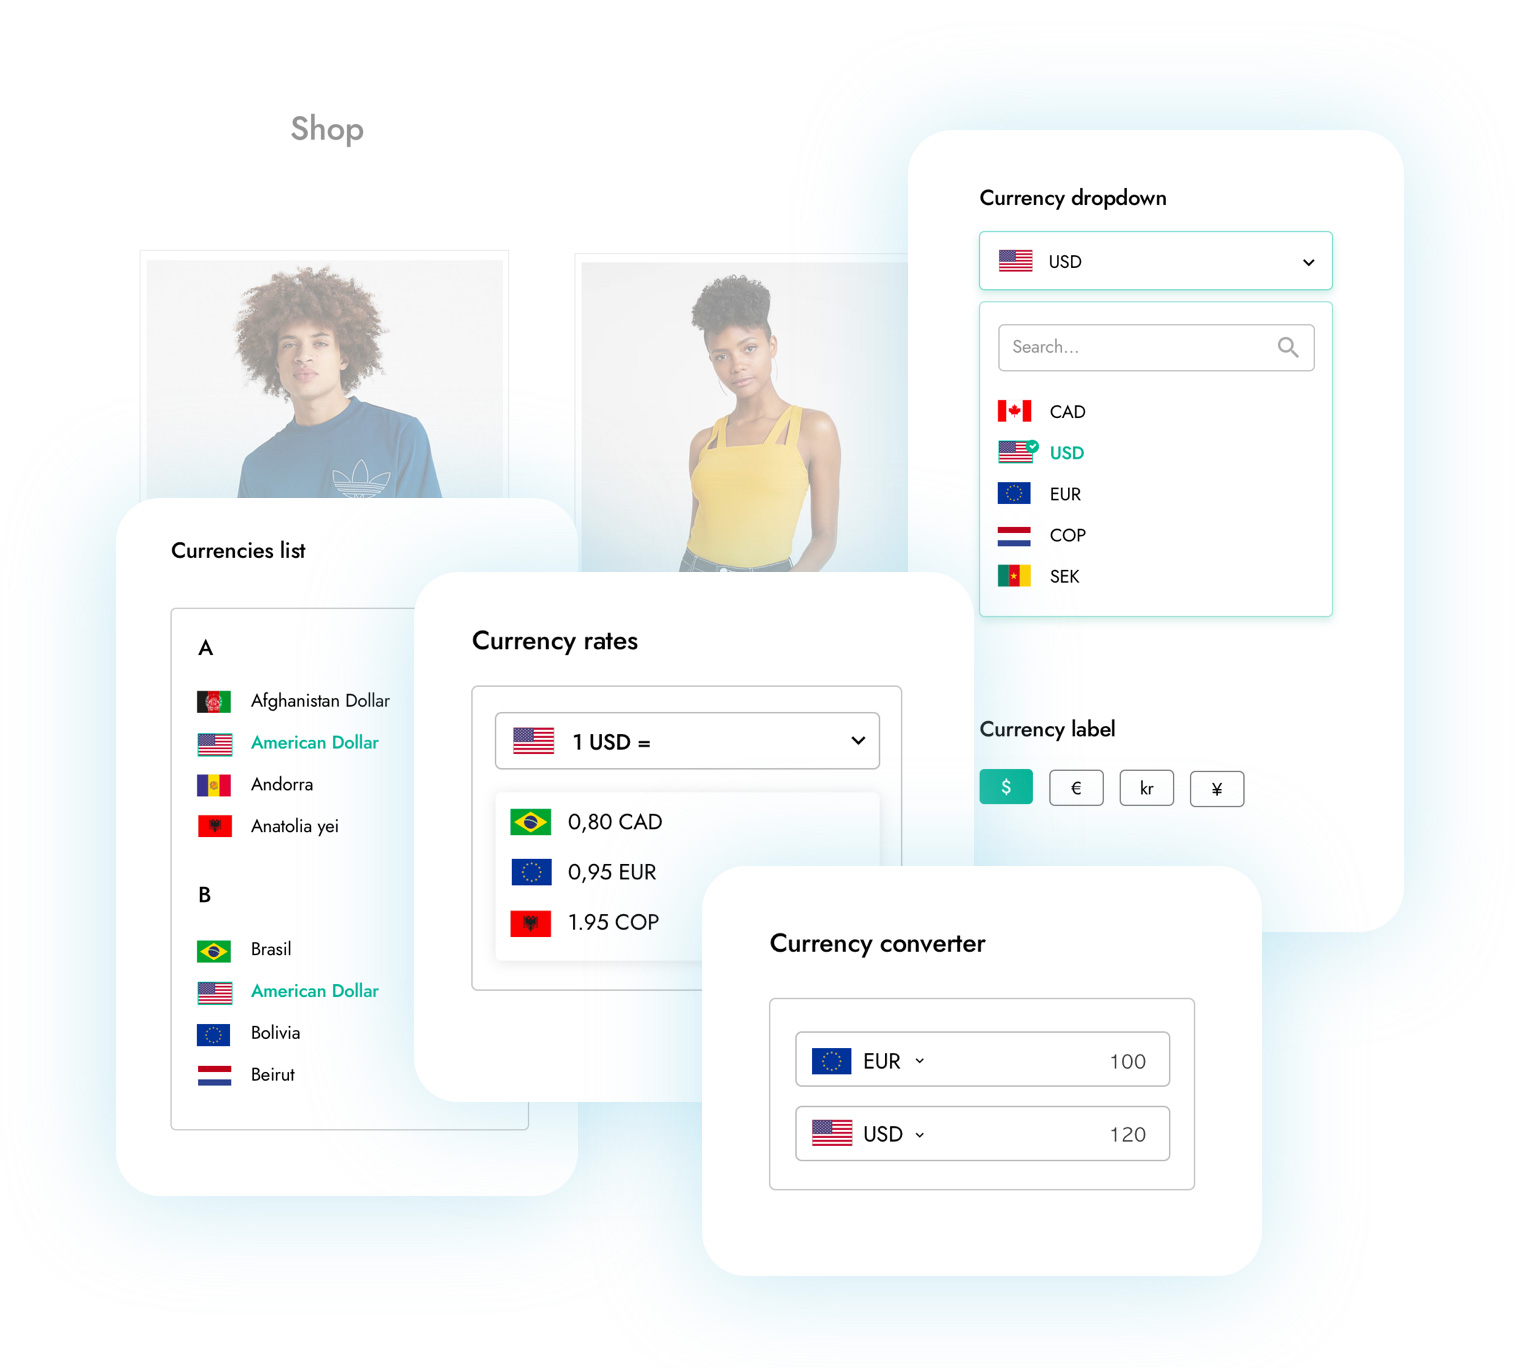
1.1. Plugin Installation
• Go into your WordPress dashboard.
• In the left hand sidebar menu, click on Plugins > Add New.
• In the search box, type “WooCommerce Multi-Currency.”
• Click Install Now on your chosen plugin.
• Once installed, click the Activate link to activate the plugin.
Step 2: Configuring Currency Options
Once installed and activated, it is time to set up the currency options of your store.
2.1. General Settings
• In your WordPress dashboard, go to WooCommerce > Settings.
• You should notice a new tab called Multi-Currency – depending on the plugin you installed.
• Click the Multi-Currency tab to enter the settings.
2.2. Adding Currencies
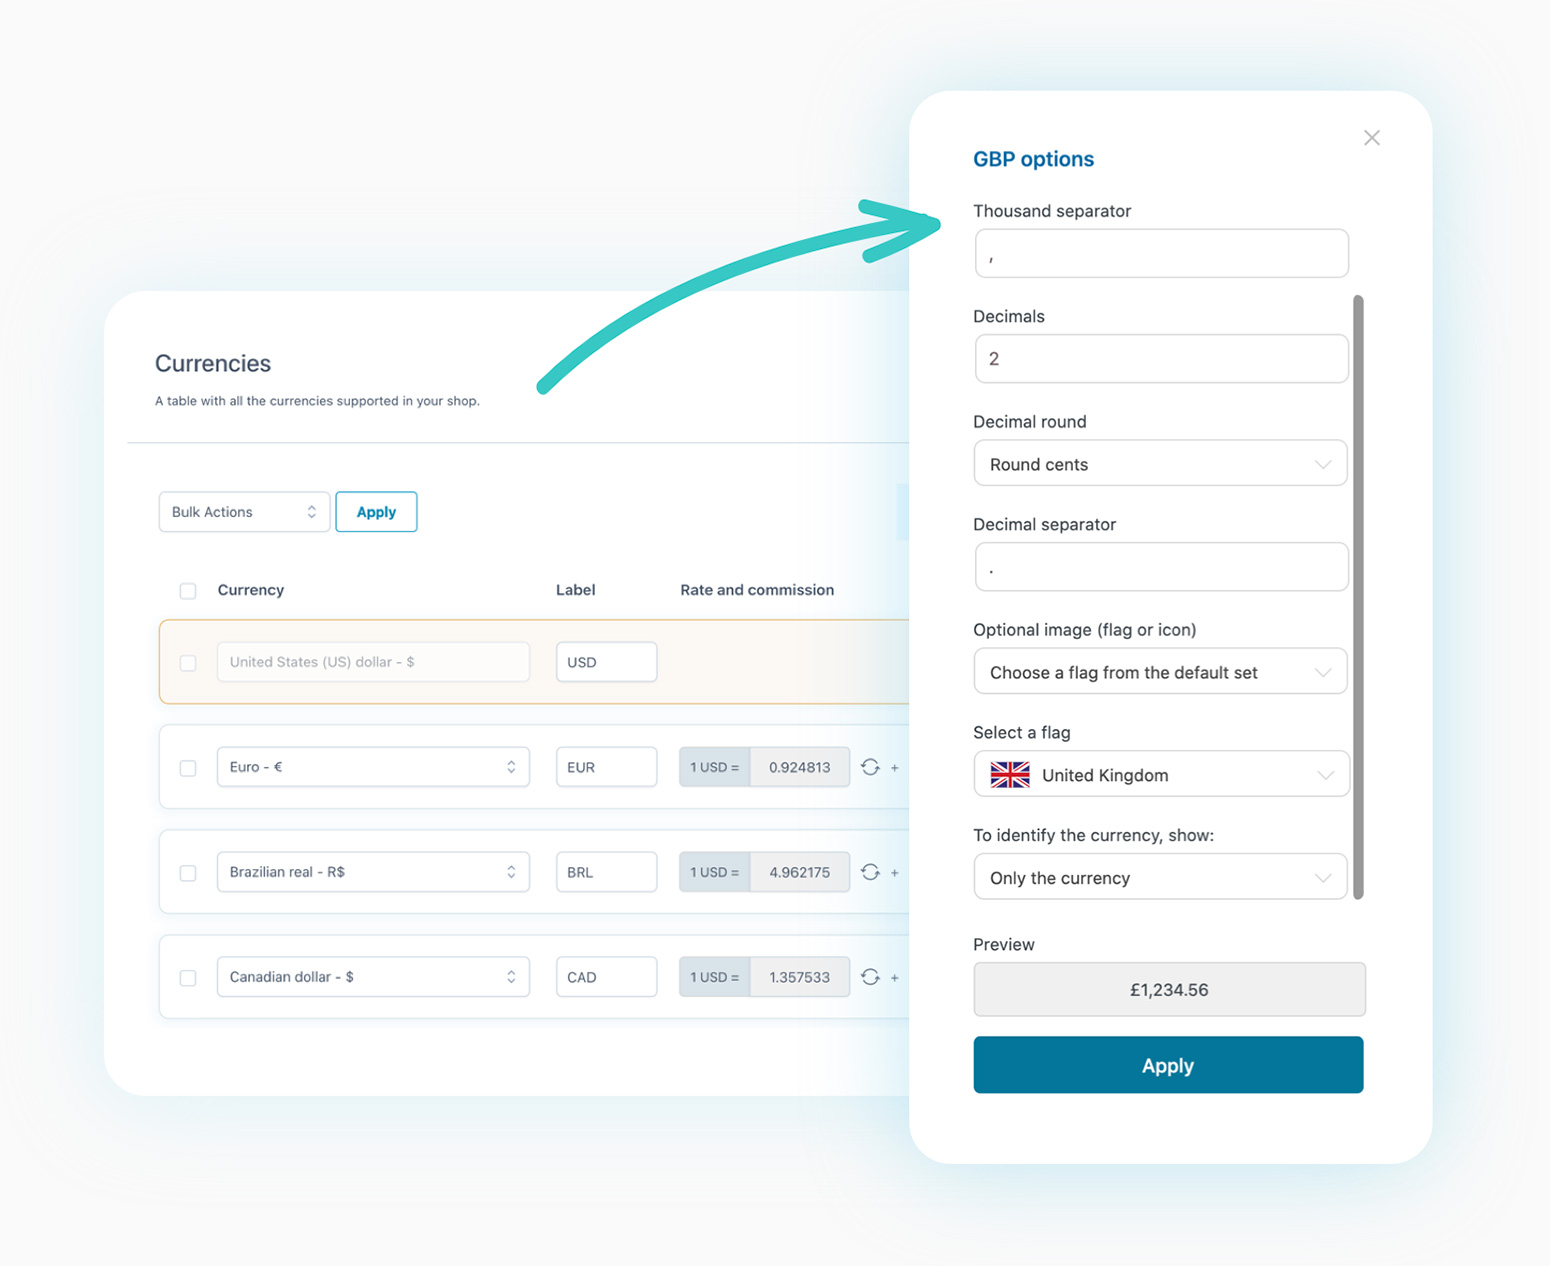
• In the Currencies section, click Add Currency.
• In the dropdown, select the currencies you want to support, such as USD, EUR, GBP etc.
• The selected currency will be added to your store.
Step 3: Setting Exchange Rates
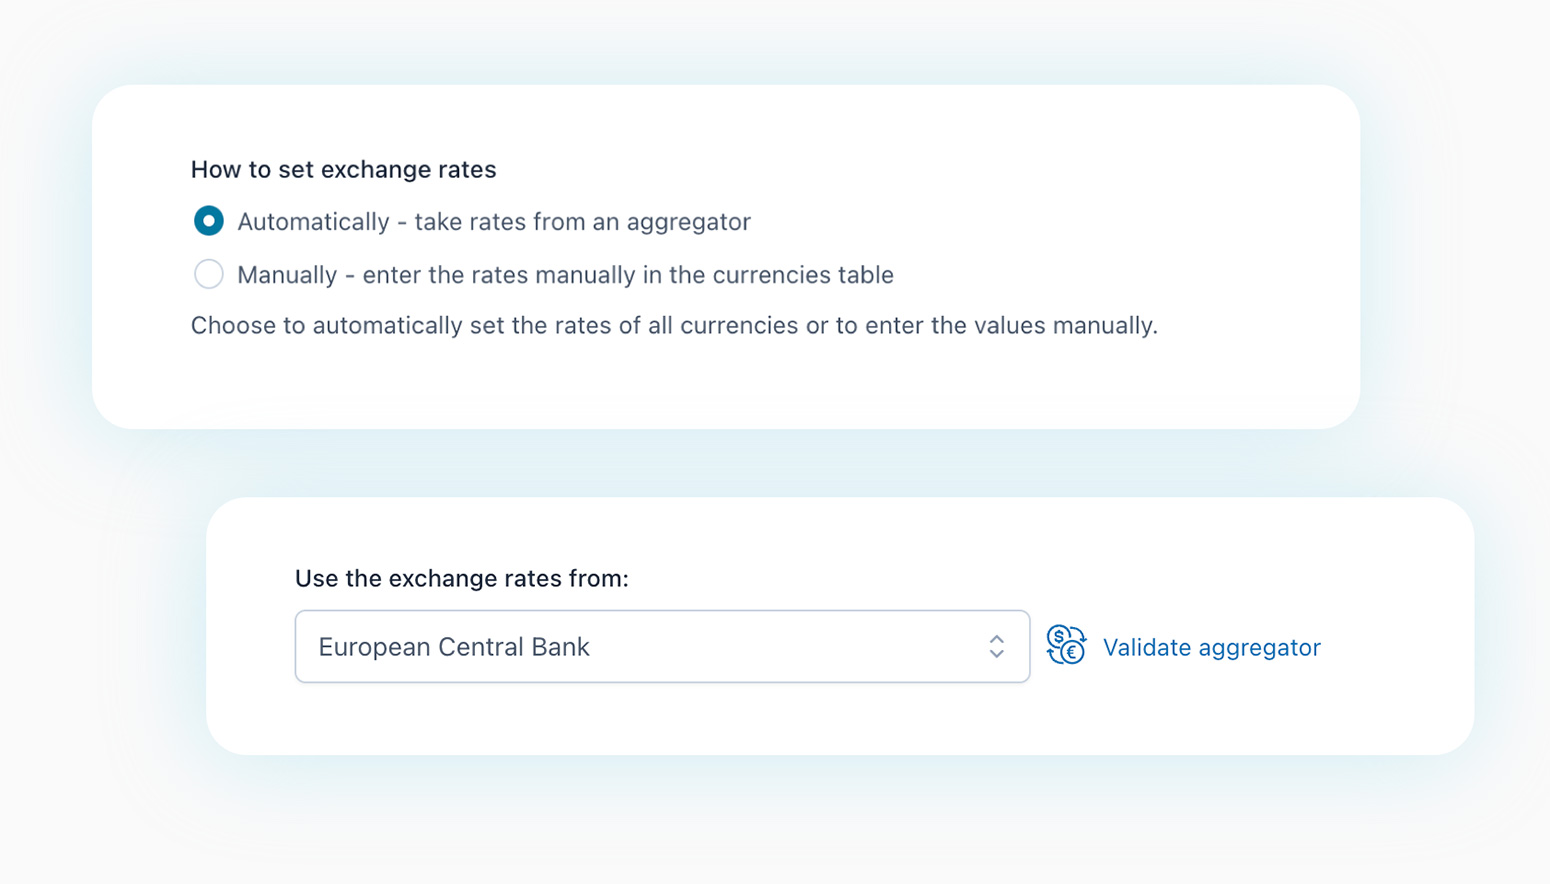
Added more than one currency, now it is time to set the exchange rates. Fortunately, most of the multi-currency plugins have the facility to auto-sync the exchange rates, or you are allowed to set them manually.
3.1 Automatic Exchange Rate
• Many plugins like WooCommerce Multi-Currency by TIV.NET support automatic updates through financial APIs such as OpenExchangeRates, or European Central Bank data:
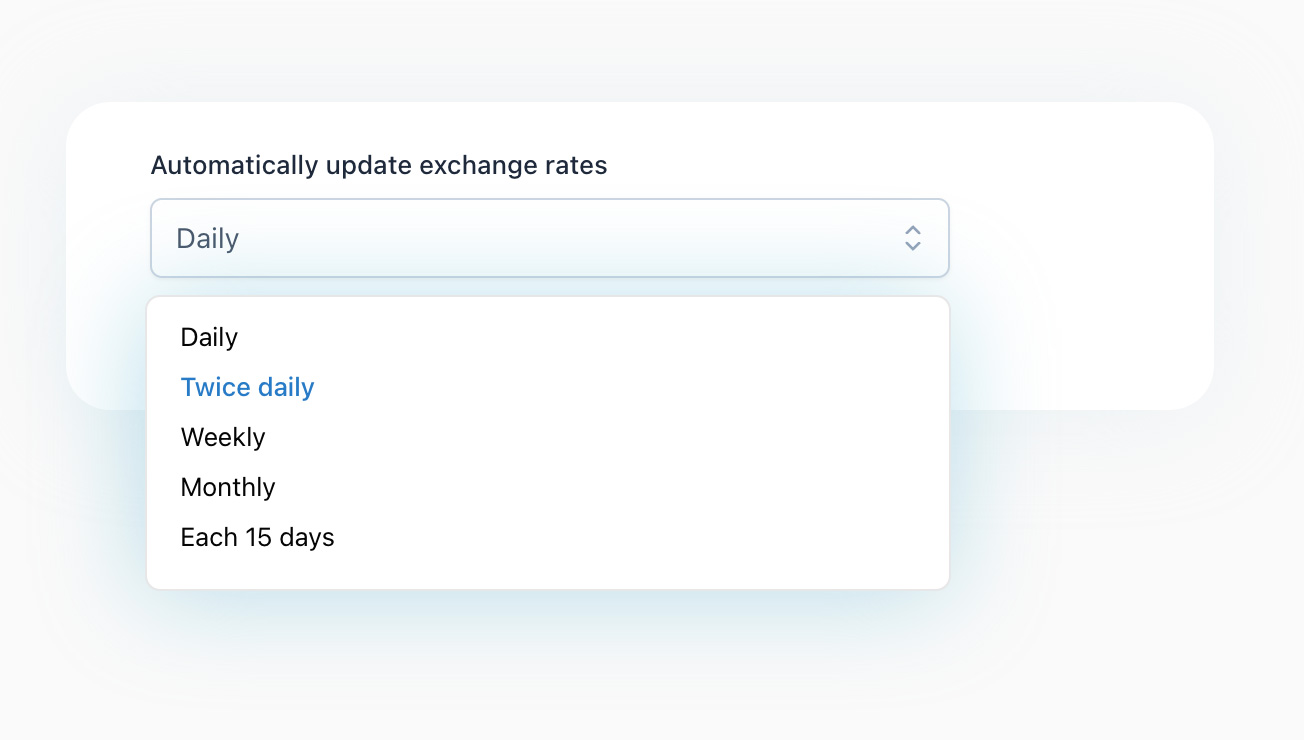
• In the Exchange Rates section, you can enable the rates update automatically.
• Choose the frequency of rate updates, such as hourly, daily, or weekly.
3.2. Manual Exchange Rates
If you wish to have manual exchange rates:
• Go to the Currency Settings.
• Here, you can set a manual rate for each currency.
• Set conversion fees for currency exchange, if needed.
Step 4: Display Options Configuration
Next, you have to configure how these currencies are to be displayed on your WooCommerce store.
4.1. Currency Switcher
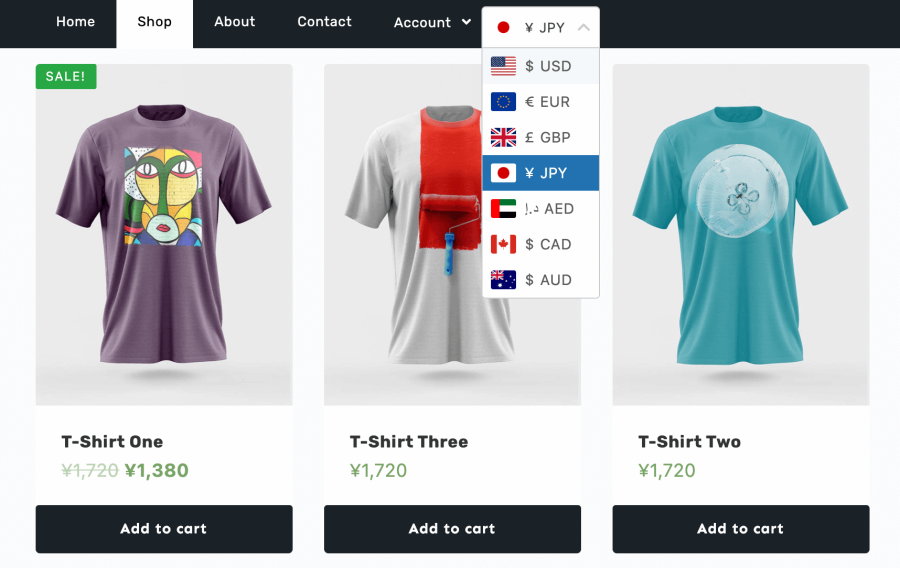
• Most plugins provide you with a widget or shortcode to display a currency switcher on your website. You can place this in visible spots such as headers, footers, or sidebars.
• From WordPress, go to Appearance > Widgets.
• Add the Currency Switcher widget to the widget area of your choice.
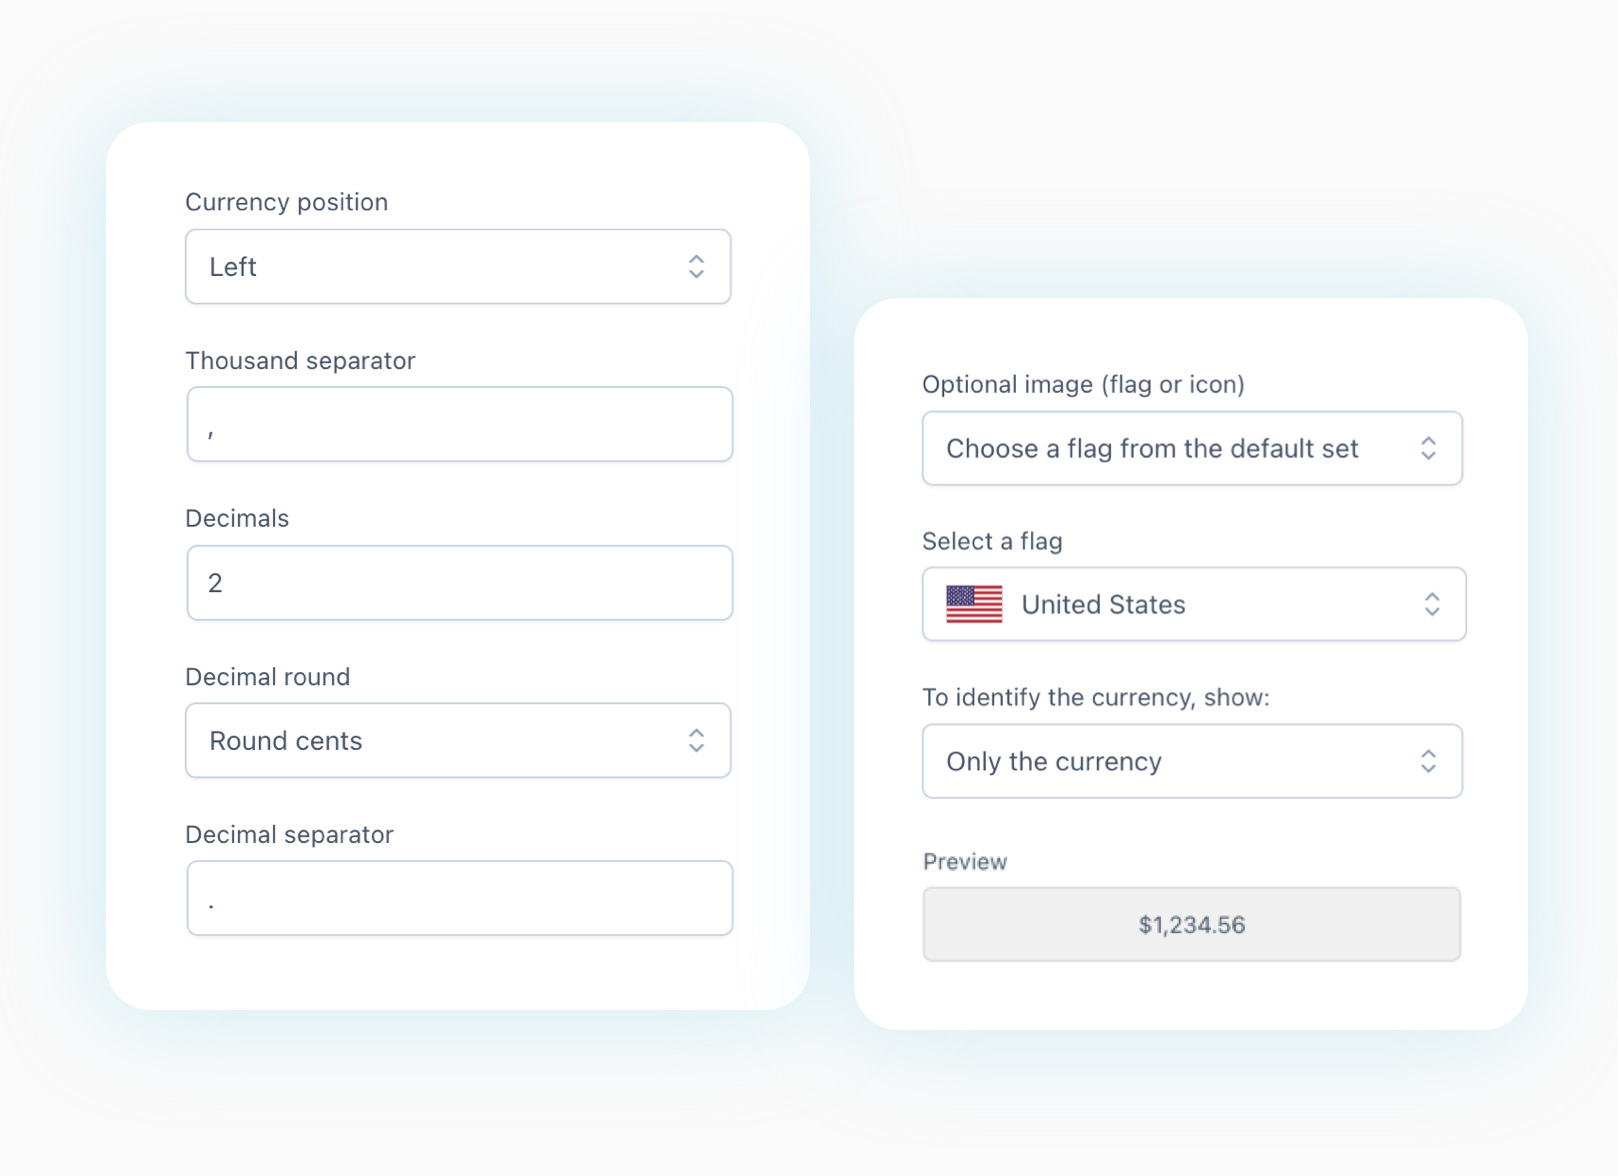
• Display settings: Choose dropdown or list display with or without flags, etc.
4.2. Geolocation – Auto Currency Detection
You can further enhance customer experience using geolocation to instantly detect which country a customer is coming from and show prices in their native currency.
• Go to WooCommerce > Settings > Multi-Currency.
• Enable the Geolocation option.
• In the drop-down select Set currency based on customer’s country.
Step 5: How to Test Multi-Currency
Once all is set, it is important to see how the currencies will look and behave in your WooCommerce store.
5.1. Front-End Testing
• Go to your store and change the currencies with the currency switcher.
• Check the prices will change using the selected currency.
• Add products to cart and proceed to checkout; check the currency is kept on the full buying process.
5.2. Back-End Testing
• Go to WooCommerce > Orders and verify that orders reflect the right currency.
• Verify if correct exchange rates with order values are appearing.
Step 6: Search Engine Optimization (Optional)
It is of utmost importance to ensure that multi-currency setup does not affect SEO. The following are the ways you can optimize it:
• Hreflang Tags: Add hreflang tags in order for the search engines to understand what version to show for different currencies and regions.
• Avoid Duplicate Content: Ensure that your store is not generating duplicate content by appending currency codes at the end of URLs. Most plugins do have a setting for that.
Step 7: How to Monitor and Adjust Exchange Rates
Exchange rates change pretty often, and hence it is imperative to be on a constant lookout for it to ensure that your product pricing is good enough.
• Setup automatic email notifications if provided by the plugin; let the emails notify you of any critical currency fluctuation.
• Come back to the plugin settings once in a while to update the exchange rate.
Read the official blog on Multi Currency for WooCommerce by WordPress.
For enabling currencies and setting up multi-currency functionality in a shop, such as WooCommerce or Shopify, observe the following steps:
1. Enable Currencies in the Shop
WooCommerce: Install the necessary multi-currency plugin, “WooCommerce Currency Switcher” or “WooCommerce Multilingual & Multicurrency.” These plugins will permit customers to choose their preferred currency
Shopify: Shopify built-in feature of multi-currency with Shopify Payments or a third-party app, like “Bold Multi-Currency.”
2. Currencies Rates
Install a plugin or application that automatically updates the exchange rates or allows you to manually input the exchange rates. Many plugins, such as “WooCommerce Currency Switcher,” allow you to automatically update your exchange rates at set intervals with use of live data from the exchanges.
Alternatively, install API integrations for automatic updates from providers like Open Exchange Rates or XE.
3. Geolocation Options
WooCommerce: Geolocation is allowed under WooCommerce Settings > General > “Enable geolocation” wherein the location of the visitor will automatically be detected and the currency to display will be selected.
Shopify: Shopify Payments supports geolocation-based currency display or you may use third-party applications that also make use of geolocation for currency switching.
4. Options on Multicurrency in Products & Coupons
Establish whether products and coupons are multi-currency compatible, updating prices when a different currency is chosen. Most multi-currency plug-ins and applications will automatically convert prices and coupon values to the selected currency.
If required, you can apply fixed prices for each currency
5. Multi-Currency Shipping Rates
Adjust your shipping rates so they change automatically based on the currency selected. Your multi-currency solution should accommodate your shipping rate conversion.
Some plugins allow you to set specific shipping rates by currency.
6. Payment Options
Ensure that your payment gateway accepts multiple currencies. The majority of well-known gateways are multi-currency compatible: PayPal, Stripe, and Shopify Payments, etc., but check the documentation for those gateways also.
In WooCommerce, you can use different gateways for different currencies if you require this, with such plugins as “WooCommerce Multi-Currency.”
7. Tools, Shortcodes & Widgets
WooCommerce: They offer a multi-currency switcher via shortcodes or widgets provided by the plugin; these can be added into the header, footer, or product pages.
Example shortcode: [currency_switcher], though this will vary by plugin.
Shopify: Many of these multi-currency applications allow adding a currency switcher for customers as a widget in the header or product pages, usually via dropdowns.
You will be able to set up and manage a multi-currency store, to support geolocation, and control the currency rate. You can provide flexible options for your customer in such aspects as products, shipping, and payments.
Conclusion
The WooCommerce Multi-Currency will enable you to serve an international audience with effortless localized pricing in multiple currencies. In fact, there are quite a few steps in the process, but it’s pretty doable with the help of plugins. You will find this guide helpful while setting up and managing multi-currency functionality in your WooCommerce store for enhanced customer experience and increasing your sales conversion rates.
About us
Bloom Agency specializes in comprehensive WooCommerce development services designed to elevate your online store’s performance and functionality. Their expertise spans custom WooCommerce development, where they tailor the platform to meet your unique business needs, to theme design and customization, ensuring your eCommerce site reflects your brand’s identity with a seamless user experience.




Rahul M.
B2B Service Provider