
How to Use Shopify with WordPress in 2024: A Step-by-Step Guide
Shopify and WordPress is among the strongest ways by which every fantastic feature that Shopify offers can be brought together into an e-commerce application with the flexibility and content management features of WordPress. This guide takes you through using Shopify with WordPress in 2024, detailing each step that would guarantee smooth putting together.
Step 1: Understand the Benefits of Integration
But before going forward let’s just know why integrating Shopify with WordPress is good for you.
• Versatile Content Management: In respect to content management, WordPress gives more superior tools, making it easier to create and manage blogs, landing pages, and so many others.
• Powerful eCommerce Tools: When it comes to eCommerce tools, Shopify offers the strongest one combined with safe payment processing, inventory management, and tracking customers.
• Improved SEO: Combining WordPress’s functionality of SEO with Shopify’s sales functionality boosts the efficiency of your website while subsequently giving you more conversions.
Step 2: Choose the Best Integration Method
There are two core integration methods of Shopify and WordPress:
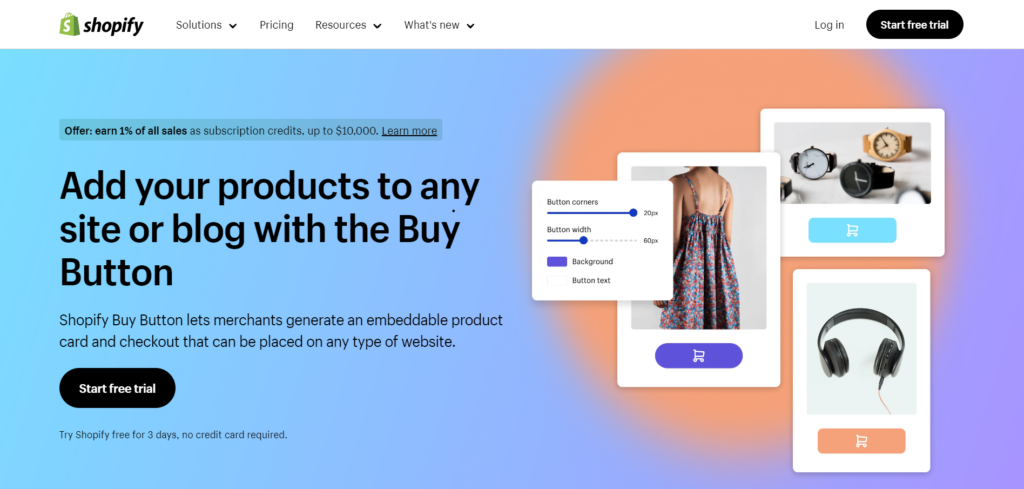
• Shopify Buy Button: This is a integration method that allows you to add products to your WordPress site by generating a buy button in Shopify. It’s great for those who want to retain WordPress as the primary platform but need Shopify’s checkout process.
• Shopify WordPress Plugin: The Shopify WordPress plugin allows shoppers to integrate the e-commerce features offered by Shopify into a WordPress site easily; it allows quick and simple product embedding as well as sales management. This hybrid solution marries the world of content-rich management offered by WordPress with the strong selling tools of Shopify.
Step 3: Configuring the Shopify Buy Button
For the Shopify Buy Button option, follow the following steps:
1. Sign Up or Log In to Shopify: Sign up to the shopify account if you do not have any account, If you do, simply log in.
2. Create Your Products: Inside of Shopify’s dashboard create the products you are going to sell. Details, such as images, descriptions, prices, and variants for each can be added to them.
3. Make the Buy Button:
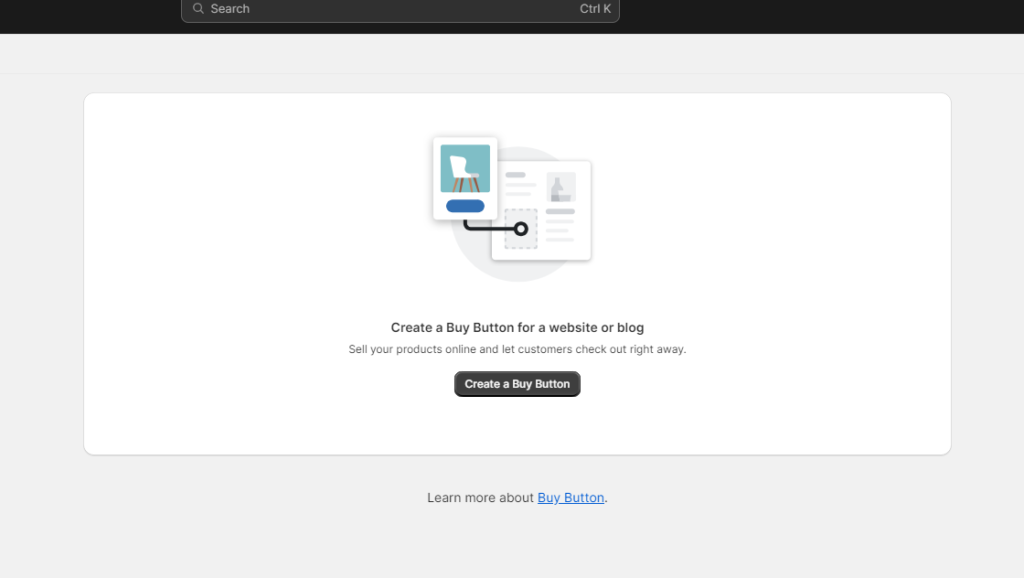
• Step into your Shopify admin and navigate to Buy Button
• Click Create a Buy Button
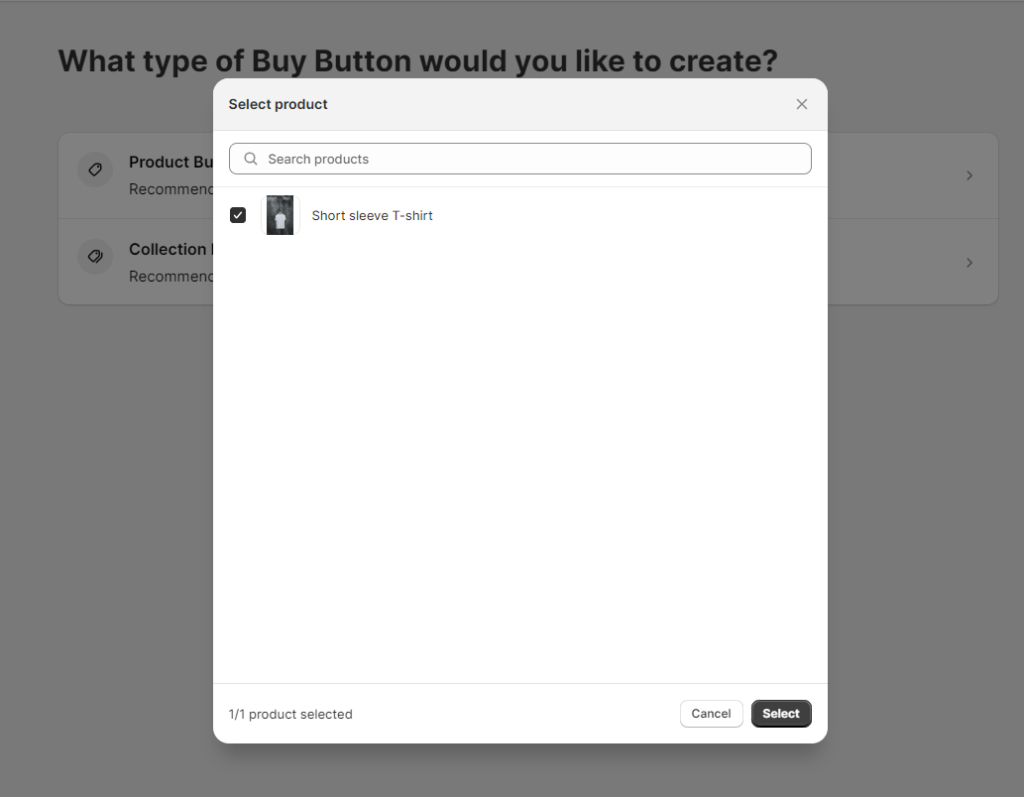
• Choose the product you want to create the button for and customize the looks
• Click Generate Code and copy the embed code it will supply
4. Add to WordPress:
• Access the WordPress dashboard to the page or post where you want to add the button.
• Go over to the HTML or Text editor and insert there the copied embed code.
• Save or publish the changes.
Step 4: Using a Third Party Plugin Integration
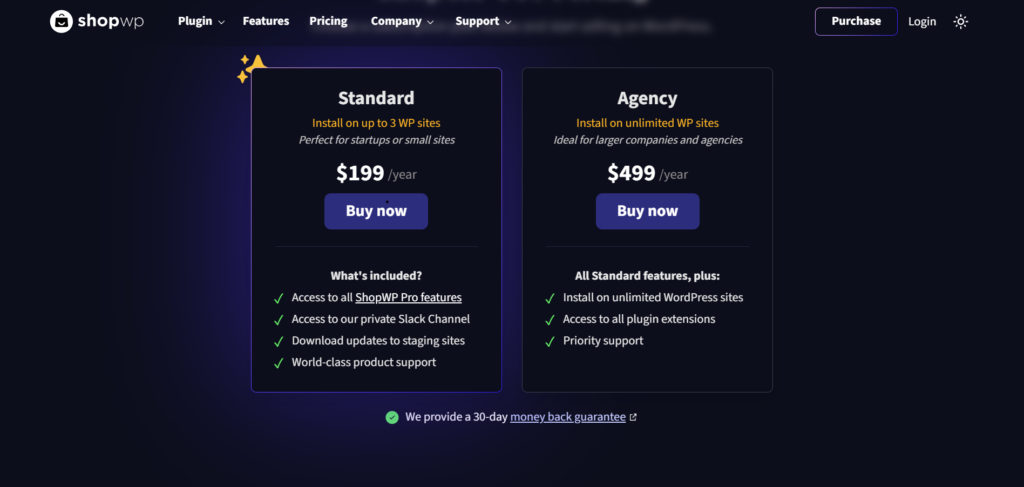
This may be done through third-party integration via plugins like ShopWP or Shopify Connect for WooCommerce. Here’s how you do it:
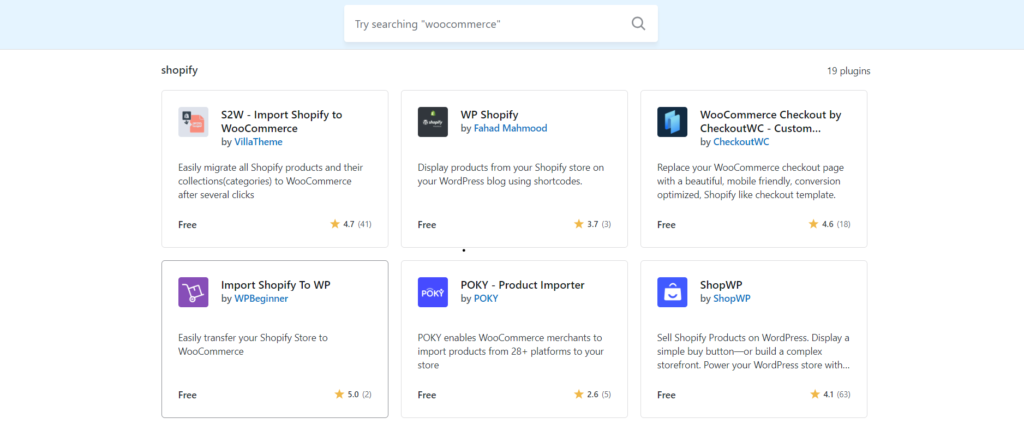
1. Install the Plugin:
• log in to your WordPress dashboard and navigate to Plugins > Add New.
• search for a plugin with the term “ShopWP” or “Shopify Connect”.
• install and activate the plugin
2. Connect to Shopify:

• Once the plugin is activated, you will get to its settings.
• Create your Shopify API key and secret; and you should have done that from your Shopify account by navigating to the location Apps > Manage private apps. Then, you continue with the instructions the plugin has, to complete the setup.
3. Sync Products:

• With the help of the plugin, you will be able to sync products from your Shopify site to your WordPress site.
• You have complete control over how products will look and behave on your WordPress site, including setting up collections and categories.
Step 5: Customize the Integration

Regardless of whether you use the Buy Button or a third-party plugin, customization will be the name of the game to make your site look and work like you imagine it. Here are a few ways to customize:
• Styling Buy Buttons: For cross consistency with your site’s style, use CSS to stylize the Buy Button.
• Product Display: If using a product display plugin, you can find control options for how products are shown in a grid, list, or single-product view.
• Checkout Experience: This should be as frictionless and consistent with your brand. Shopify handles checkout, but you can change the elements that appear by setting type within Shopify, including the logo and color scheme.
Step 6: SEO and Performance Optimization

While integrating Shopify with WordPress pays attention to SEO and site performance to assure an excellent user experience:
• SEO Best Practices: Use Yoast SEO, among other plugins, in optimizing your word press posts for clear, keyword-rich titles and descriptions of products on Shopify.
• Site Speed: Use caching plugins and optimize images to keep your WordPress site fast. Shopify handles the product and checkout pages, but you want the transition from WordPress to Shopify to be quick.
• Mobile Responsiveness: Make sure that your WordPress theme and Shopify Buy Buttons or product displays are mobile-friendly.
Step 7: Test the Integration
Test the integration thoroughly before launch:
• Add to Cart / Checkout Test: Test how easy it is to add a product to the cart and have a successful checkout.
• Responsive Design Test: Ensure the site looks and works well on various devices and screen sizes.
• Cross-Browser Compatibility Test: This will ensure the site works well across many browsers.
Step 8: Monitor and Maintain

Keep a close eye on the performance and functionality of your integration, keeping a sharp eye out on their performance and functionality after launch.
• Analytics and Tracking: Leverage analytics software, such as Google Analytics and Shopify’s native analytics software to track the site’s traffic, user behavior, and sales performance.
• Regular Updates: Update WordPress and its installed integrations with Shopify. Update Shopify from time to time.
• Customer Feedback: Always listen to the voices of the customers to determine and correct the problems that exist within the buying process.
Conclusion
Combine the strong powers of WordPress’s robust content management system with the robust features of eCommerce contained in Shopify: an integration that can make 2024 a great shopping experience for your customers while giving you all control over your site’s design and its contents. It will be run smoothly with periodic testing and optimization.
About Us
Unlock your online store’s full potential with Bloom’s Shopify Development Services and WordPress website design service. Our expert team crafts custom Shopify sites and WordPress websites design to maximize sales and enhance user experience. From sleek designs to powerful functionalities, we create solutions tailored to your brand’s needs.
Partner with Bloom today and watch your eCommerce business thrive!


Rahul M.
B2B Service Provider